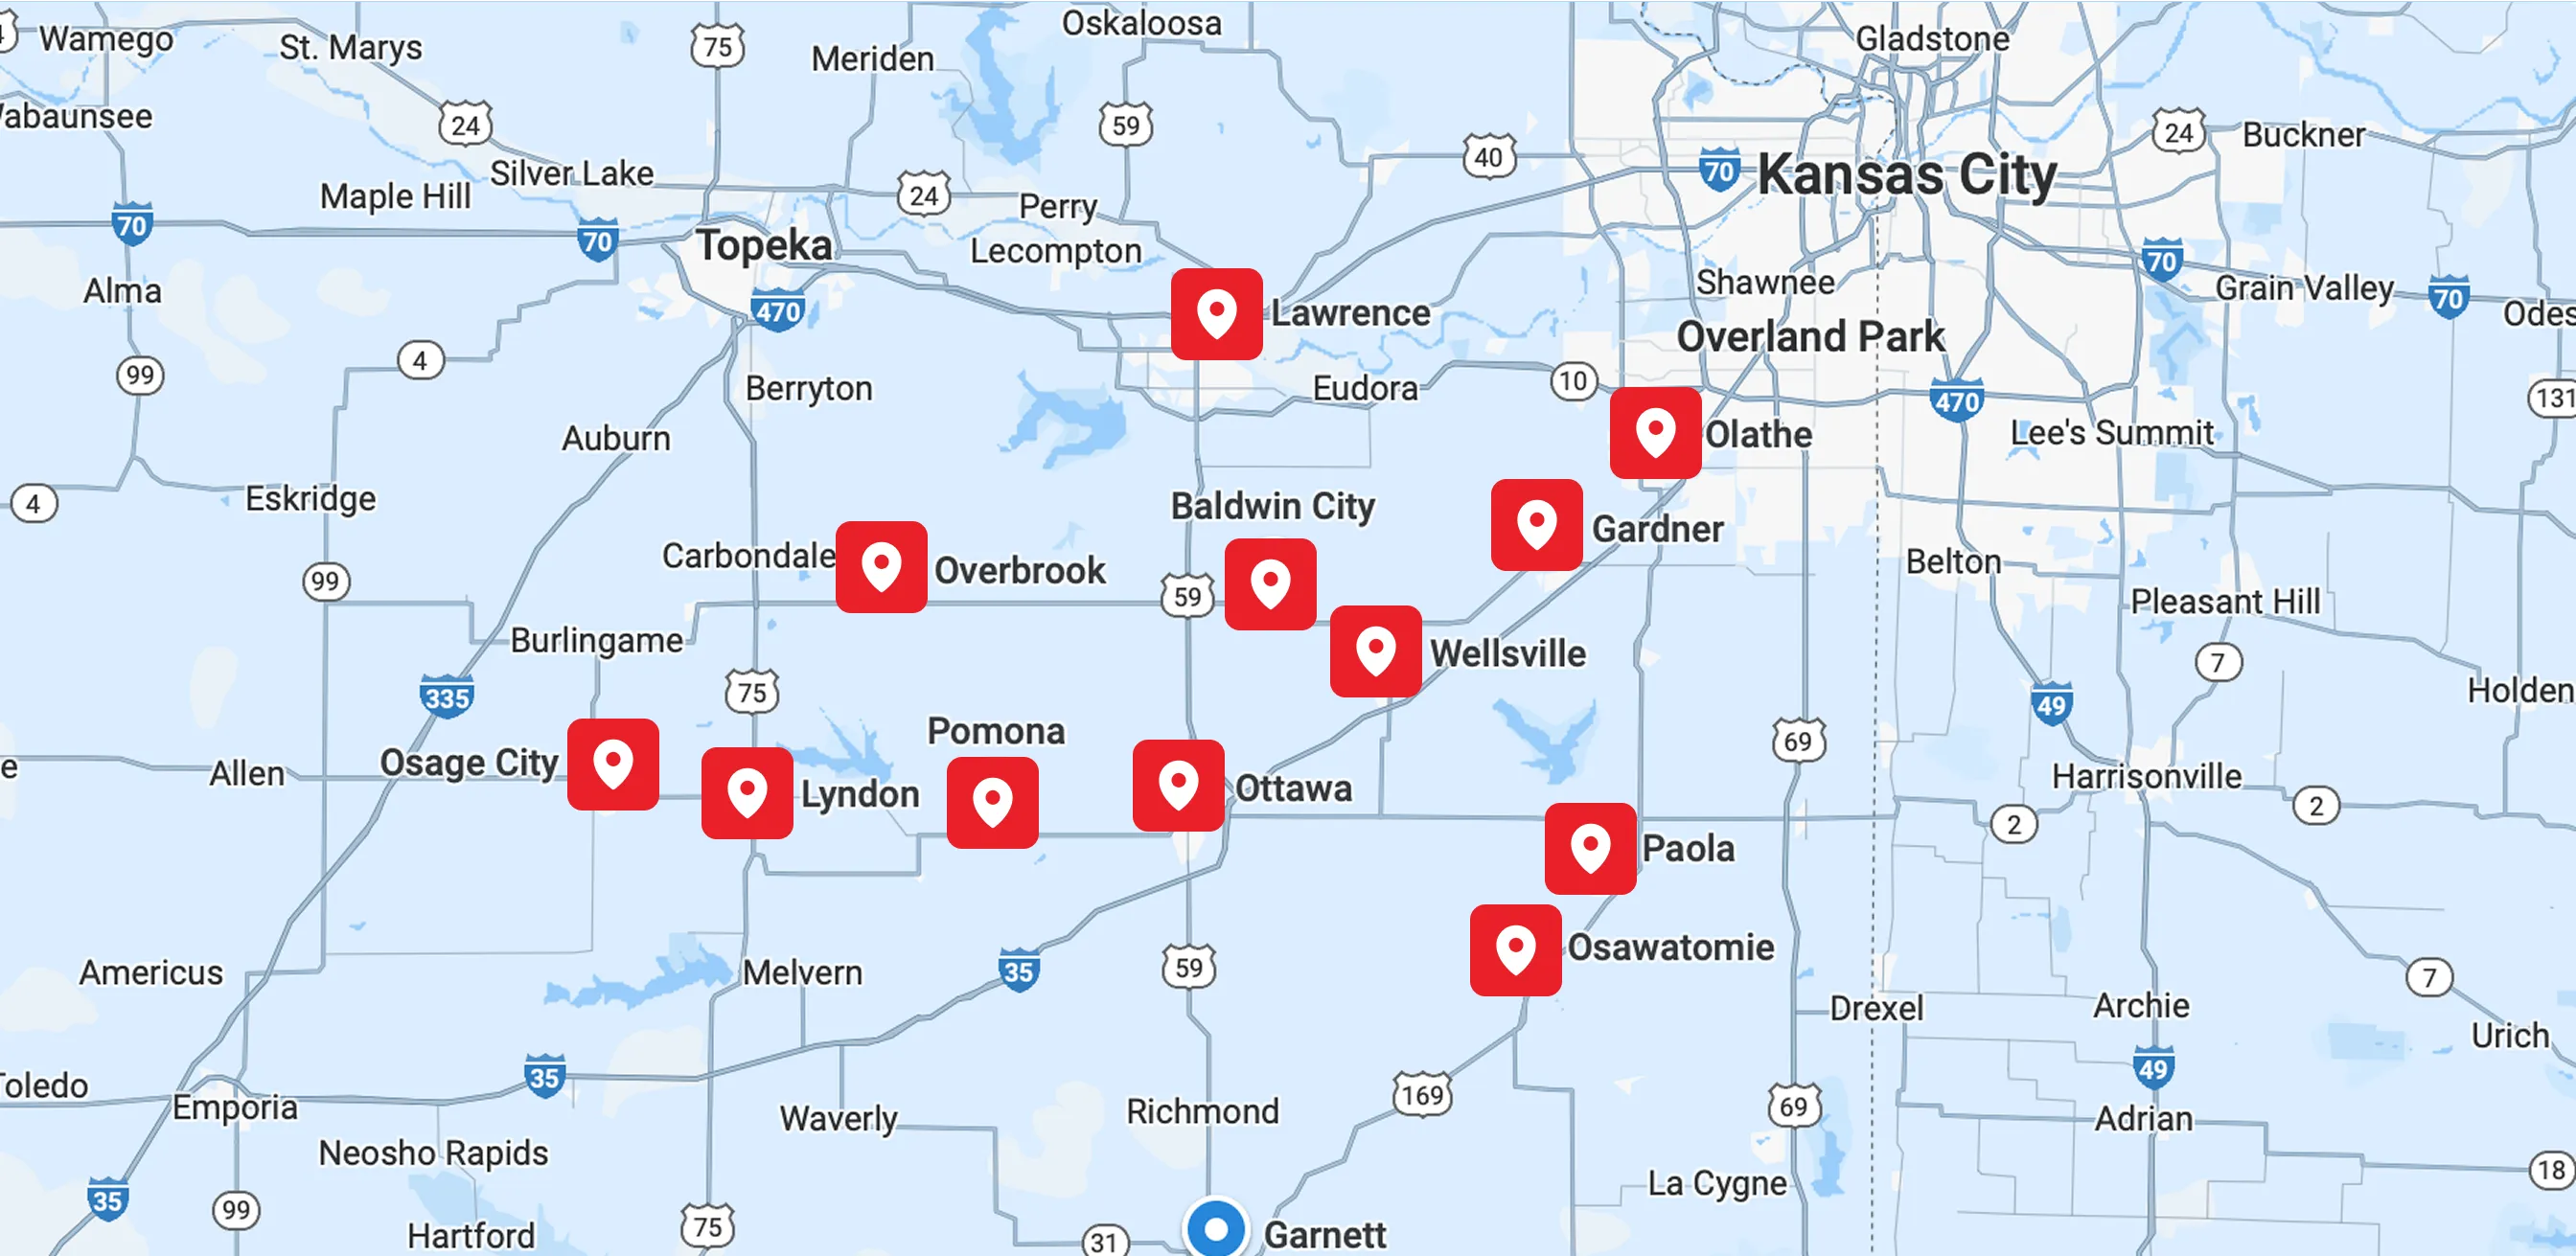
Tankless Water Heater Installation in Overbrook, KS
Tankless Water Heater Installation in Overbrook, KS by All Seasons Air Conditioning and Heating provides a comprehensive guide to planning, executing, and maintaining on-demand hot water systems. We cover essential site assessment, precise load and flow calculations, specific gas, electrical, venting, and plumbing requirements, and step-by-step installation and commissioning procedures performed by our licensed technicians. We highlight critical safety standards, necessary permits, and code compliance, provide estimated timelines, and offer homeowner onboarding and maintenance routines designed to maximize efficiency and lifespan. By emphasizing proper sizing, venting, and freeze protection, All Seasons Air Conditioning and Heating ensures reliable performance in Overbrook's climate.
.webp)
Tankless Water Heater Installation in Overbrook, KS
Upgrading to a tankless water heater is one of the most effective ways Overbrook, KS homeowners reduce energy waste and secure on-demand hot water year-round. Because local winters bring freezing temperatures and summers can stress peak usage, a properly planned and executed tankless water heater installation is essential to avoid cold-shock, gas or electrical capacity problems, and premature equipment issues. This page explains the professional installation process, common local issues, safety and code considerations, commissioning and testing steps, estimated timelines, and homeowner onboarding and maintenance recommendations tailored to Overbrook homes.
Why choose tankless installation for Overbrook homes
- Continuous hot water on demand without a large standby heat loss from a storage tank.
- Better energy efficiency in a climate with wide seasonal temperature swings.
- Smaller footprint, easier placement inside heated areas to reduce freeze risk.
- Long-term reliability when installed with proper venting, fuel supply, and water treatment.
Common tankless water heater issues in Overbrook, KS
- Inadequate gas supply or undersized gas piping causing flame failure or reduced output during high demand.
- Electrical panels without required capacity for direct-vent electric units or supplemental components.
- Poor venting choices or improper exhaust routing leading to condensation and corrosion, especially with high-efficiency condensing models.
- Mineral scale buildup and flow restrictions from hard water common in many Kansas areas, reducing performance.
- Freeze-related damage to outdoor-mounted units during cold snaps if not properly protected.
Pre-installation assessment: what professionals check
- Household hot water demand: number of simultaneous fixtures, appliances, and peak flow needs (measured in gallons per minute, GPM).
- Required temperature rise: incoming groundwater temperature in Overbrook can drop in winter; installers calculate how many degrees the unit must raise water temperature to meet setpoints.
- Fuel and electrical availability: existing gas meter capacity, main gas line sizing, or electrical service adequacy and breaker capacity for electric units.
- Venting path and structural considerations: routing to exterior, clearances from windows and air intakes, and whether chase or concentric venting is required.
- Plumbing layout and compatibility: location of shutoffs, need for recirculation loops, and space for pressure relief and expansion devices.
- Water quality check to determine need for softening or periodic descaling.
Load and flow calculations (explained simply)
- Determine peak simultaneous flow by listing fixtures likely to run together (shower 1.5–2.5 GPM, washing machine 1.5–3 GPM, dishwasher 1–2 GPM).
- Add flows to get peak GPM requirement, then calculate temperature rise by subtracting local cold inlet temp from desired delivery temp (often 120°F).
- Match GPM and temperature rise to a unit’s rated output. Professionals use conservative margins for Kansas’ cold-season inlet temps.
Gas, electrical, plumbing, and venting requirements
- Gas units: often require upsized gas lines and appropriate pressure at the meter. Combustion air intake and approved vent materials (stainless or approved PVC for condensing models) are essential.
- Electric units: need sufficient ampacity, dedicated breakers, and possibly panel upgrades for whole-house systems.
- Plumbing: install pressure relief valves, isolation valves for draining and servicing, and often an expansion tank for closed systems. Anti-scald valves and tempering may be recommended.
- Venting: choose venting compatible with the model (direct vent, power vent, or concentric). Proper slope, support, and termination clearances comply with code and prevent condensate pooling.
Steps taken during a professional installation
Commissioning and testing procedures
- Pressure-test gas and water connections for leaks and code compliance.
- For gas units: verify combustion performance and proper air/fuel ratio where required; test ignition cycles and flame stability.
- Flow and temperature verification: test multiple simultaneous fixture scenarios to confirm unit meets calculated GPM at required temperature rise.
- Check vent termination locations for correct clearances and ensure condensate drainage on condensing units.
- Program set temperatures and verify system controls. Document initial error codes and baseline readings.
Safety, permits, and code compliance
- Installations must follow local building codes, gas codes, and electrical codes; permits and inspections are commonly required in Overbrook and surrounding Douglas/Osage county jurisdictions.
- Installers ensure correct clearances, combustion air provision, and approved venting materials. Safety devices and pressure relief are installed to prevent overpressure situations.
- Units are sited to minimize exposure to freezing conditions; outdoor units need factory-recommended freeze-protection kits when exposed to subfreezing temperatures.
Estimated project timeline
- Onsite pre-installation assessment: typically 1–2 hours.
- Simple replacement (same location, like-for-like capacity): often completed in 4–8 hours.
- Complex installations (new venting paths, gas line upgrades, panel work, or adding recirculation): may require multiple days on site.
- Permit review and inspection scheduling can extend the full project timeline to 1–2 weeks depending on local permitting turnaround.
Homeowner onboarding and maintenance recommendations
- Operation overview: how to set temperature (recommended 120°F for safety and efficiency), read error codes, and use any remote controls or apps.
- Emergency shutdown: demonstrate water, gas, and electrical isolation points.
- Maintenance schedule:
- Flush and descale the heat exchanger annually or more frequently if water is hard; consider a water softener where appropriate.
- Clean inlet screens and external filters every 6–12 months.
- Inspect venting and condensate drains yearly.
- Have combustion analysis and gas-line checks during annual service for gas units.
- Keep a maintenance log with service dates, any error codes encountered, and descaling records to protect warranty and optimize lifespan.
Long-term benefits for Overbrook homeowners
A correctly installed tankless water heater delivers reliable, on-demand hot water while reducing energy waste and taking up less space than traditional tanks. In Overbrook’s variable climate, attention to proper siting, venting, fuel or electrical capacity, and routine descaling will preserve performance and avoid weather-related issues. When installation follows careful load calculations, code compliance, and tailored freeze protection, homeowners gain years of efficient service and dependable hot water performance.
Customer Testimonials
Service Areas