Heat Pump Installation in Lawrence, KS
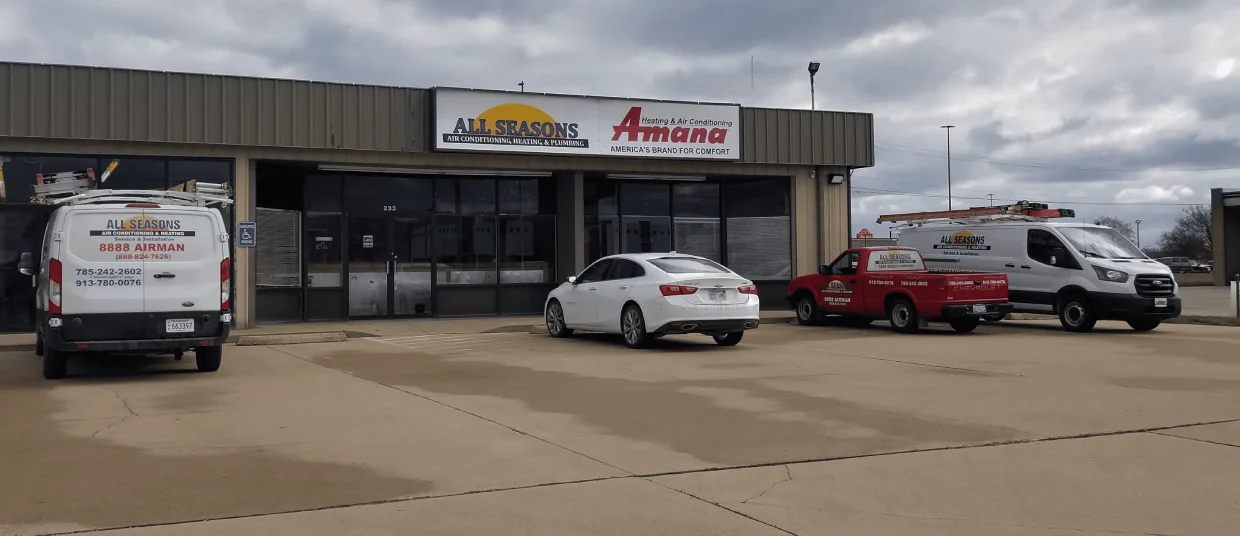
All Seasons Air Conditioning and Heating offers a comprehensive heat pump installation process in Lawrence, KS, from the initial site assessment through commissioning and post-install support. We emphasize proper sizing, duct design, and electrical readiness to avoid performance issues, adhering to Manual J and Manual D, local codes, and refrigerant handling rules. Customers will learn about equipment options, system sizing, ductwork and electrical requirements, installation steps, testing, permits, timelines, warranties, and ongoing maintenance that optimize comfort, energy efficiency, and long-term reliability.

Heat Pump Installation in Lawrence, KS
Upgrading to a modern heat pump is one of the most effective ways to improve year-round comfort, reduce energy costs, and lower your home’s carbon footprint in Lawrence, KS. Whether you live in an older bungalow near downtown or a newer build in west Lawrence, a professional heat pump installation addresses site-specific needs: Kansas hot, humid summers; cold winter snaps; and local home construction types. This page explains the end-to-end installation process so you know what to expect from assessment through commissioning, permits, and post-installation care.
Why a professional installation matters in Lawrence, KS
Heat pumps perform best when sized, sited, and installed correctly. Improper sizing or ductwork and electrical shortcomings are common causes of poor performance and early failures in local homes. In Lawrence, seasonal temperature swings and humidity levels make correct refrigerant charge, airflow, and defrost control critical. Professional installation ensures the system meets Manual J and Manual D standards, complies with city and county codes, and delivers reliable comfort across extremes.
Common heat pump types and service options
- Air-source heat pumps (including cold-climate models) — widely used for Lawrence homes; efficient for most of the heating season.
- Ductless mini-split systems — ideal for homes without existing ductwork or for room-by-room zoning in older homes.
- Hybrid systems — heat pump paired with a gas furnace for backup on the coldest nights, common where fuel sources vary.
- Ground-source (geothermal) systems — high up-front cost with strong long-term savings; less common but suitable for new builds or major renovations.
Site assessment and heat load calculations
A thorough site assessment starts the process:
- Visual inspection of attic, crawlspace, duct layout, insulation levels, and exterior unit placement.
- Review of thermostat location, existing electrical service and panel capacity, and any noise or aesthetic constraints.
- Manual J heat load calculation to determine heating and cooling demand specific to your Lawrence home. This accounts for square footage, insulation, window sizes and orientation, air infiltration, and local climate data.
- Manual D duct design where ducts exist or are planned, ensuring proper sizing and balanced airflow. Manual S guides equipment selection based on load and efficiency needs.
Equipment selection and system sizing
Equipment is chosen to match your calculated load and household priorities:
- Right-sized heat pump capacity with appropriate HSPF and SEER ratings for Lawrence’s climate. Cold-climate models are preferred if winter temperatures drop below design conditions.
- Consideration of variable-speed compressors and modulating fans for quieter operation and better humidity control during Kansas summers.
- Matching indoor coil and air handler to outdoor unit to maintain warranty and efficiency.
- Options for zoning, smart thermostats, and backup heat if required.
Ductwork and electrical requirements
Many installation problems trace back to ducts and electrical service:
- Duct inspection and sealing: Leaky or undersized ducts reduce efficiency and comfort. Sealing, insulation, and sometimes partial rework ensure designed airflow.
- Airflow tuning: Correct blower speed and static pressure checks to meet manufacturer specifications.
- Electrical requirements: Most residential heat pumps require a dedicated circuit, appropriate breaker size, and a disconnect. Older Lawrence homes sometimes need service panel upgrades or a subpanel for safe operation.
- Condensate management and drain routing to prevent moisture issues in basements and crawlspaces.
Professional installation steps
A standard professional installation includes:
- Final equipment selection and delivery scheduling based on site assessment.
- Preparation: pad or mounting bracket installation, clearances established, and protective measures inside the home.
- Removal of old equipment when applicable.
- Installation of indoor and outdoor units, refrigerant line sets, and electrical connections.
- Duct connections, sealing, and insulation where needed.
- System charging, calibration, and thermostat setup. Installers follow manufacturer checklists to protect warranties.
Testing and commissioning procedures
Proper commissioning is critical for long-term performance:
- Refrigerant charge verification using superheat and subcooling measurements to factory specifications.
- Airflow measurements and static pressure testing to validate duct performance.
- Electrical checks including amp draw, voltage, and proper breaker sizing.
- Functional tests: heat mode, cool mode, defrost operation, and emergency heat if applicable.
- Thermostat calibration and schedule programming for seasonal efficiency.
- Final walk-through documenting readings and system behavior.
Permits, codes, and inspections in Lawrence, KS
Permits are typically required for HVAC work in Lawrence and surrounding Douglas County:
- Building and mechanical permits ensure installations meet local code and safety standards.
- Electrical permits may be separate and require licensed electrician involvement.
- Inspection by city or county officials will confirm work adheres to codes; installers generally coordinate scheduling.
- Compliance with refrigerant handling and EPA regulations is standard for licensed contractors.
Project timeline and what to expect
Typical timelines vary by project scope:
- Site assessment and quote: 1 to 3 business days.
- Permit approval: often 3 days to 2 weeks depending on workload and complexity.
- Installation: most residential installs complete in 1 to 3 days for split systems; ductwork upgrades or geothermal systems can extend this.
- Final inspection and commissioning: scheduled after installation, may add a few days.
Plan for minor disruptions during install, and clear communication from your installer about schedule specifics.
Post-installation support and warranties
After installation, reliable support preserves system value:
- Manufacturer warranty on compressor and major components; length varies by model.
- Installer workmanship warranty covering labor and installation-specific issues. Registration with the manufacturer and keeping documentation is important for warranty claims.
- Recommended maintenance: annual tune-up before the heating season, filter changes every 1 to 3 months, and periodic coil and drain cleaning. Many owners choose an annual maintenance plan for priority service and sustained efficiency.
Customer Testimonials
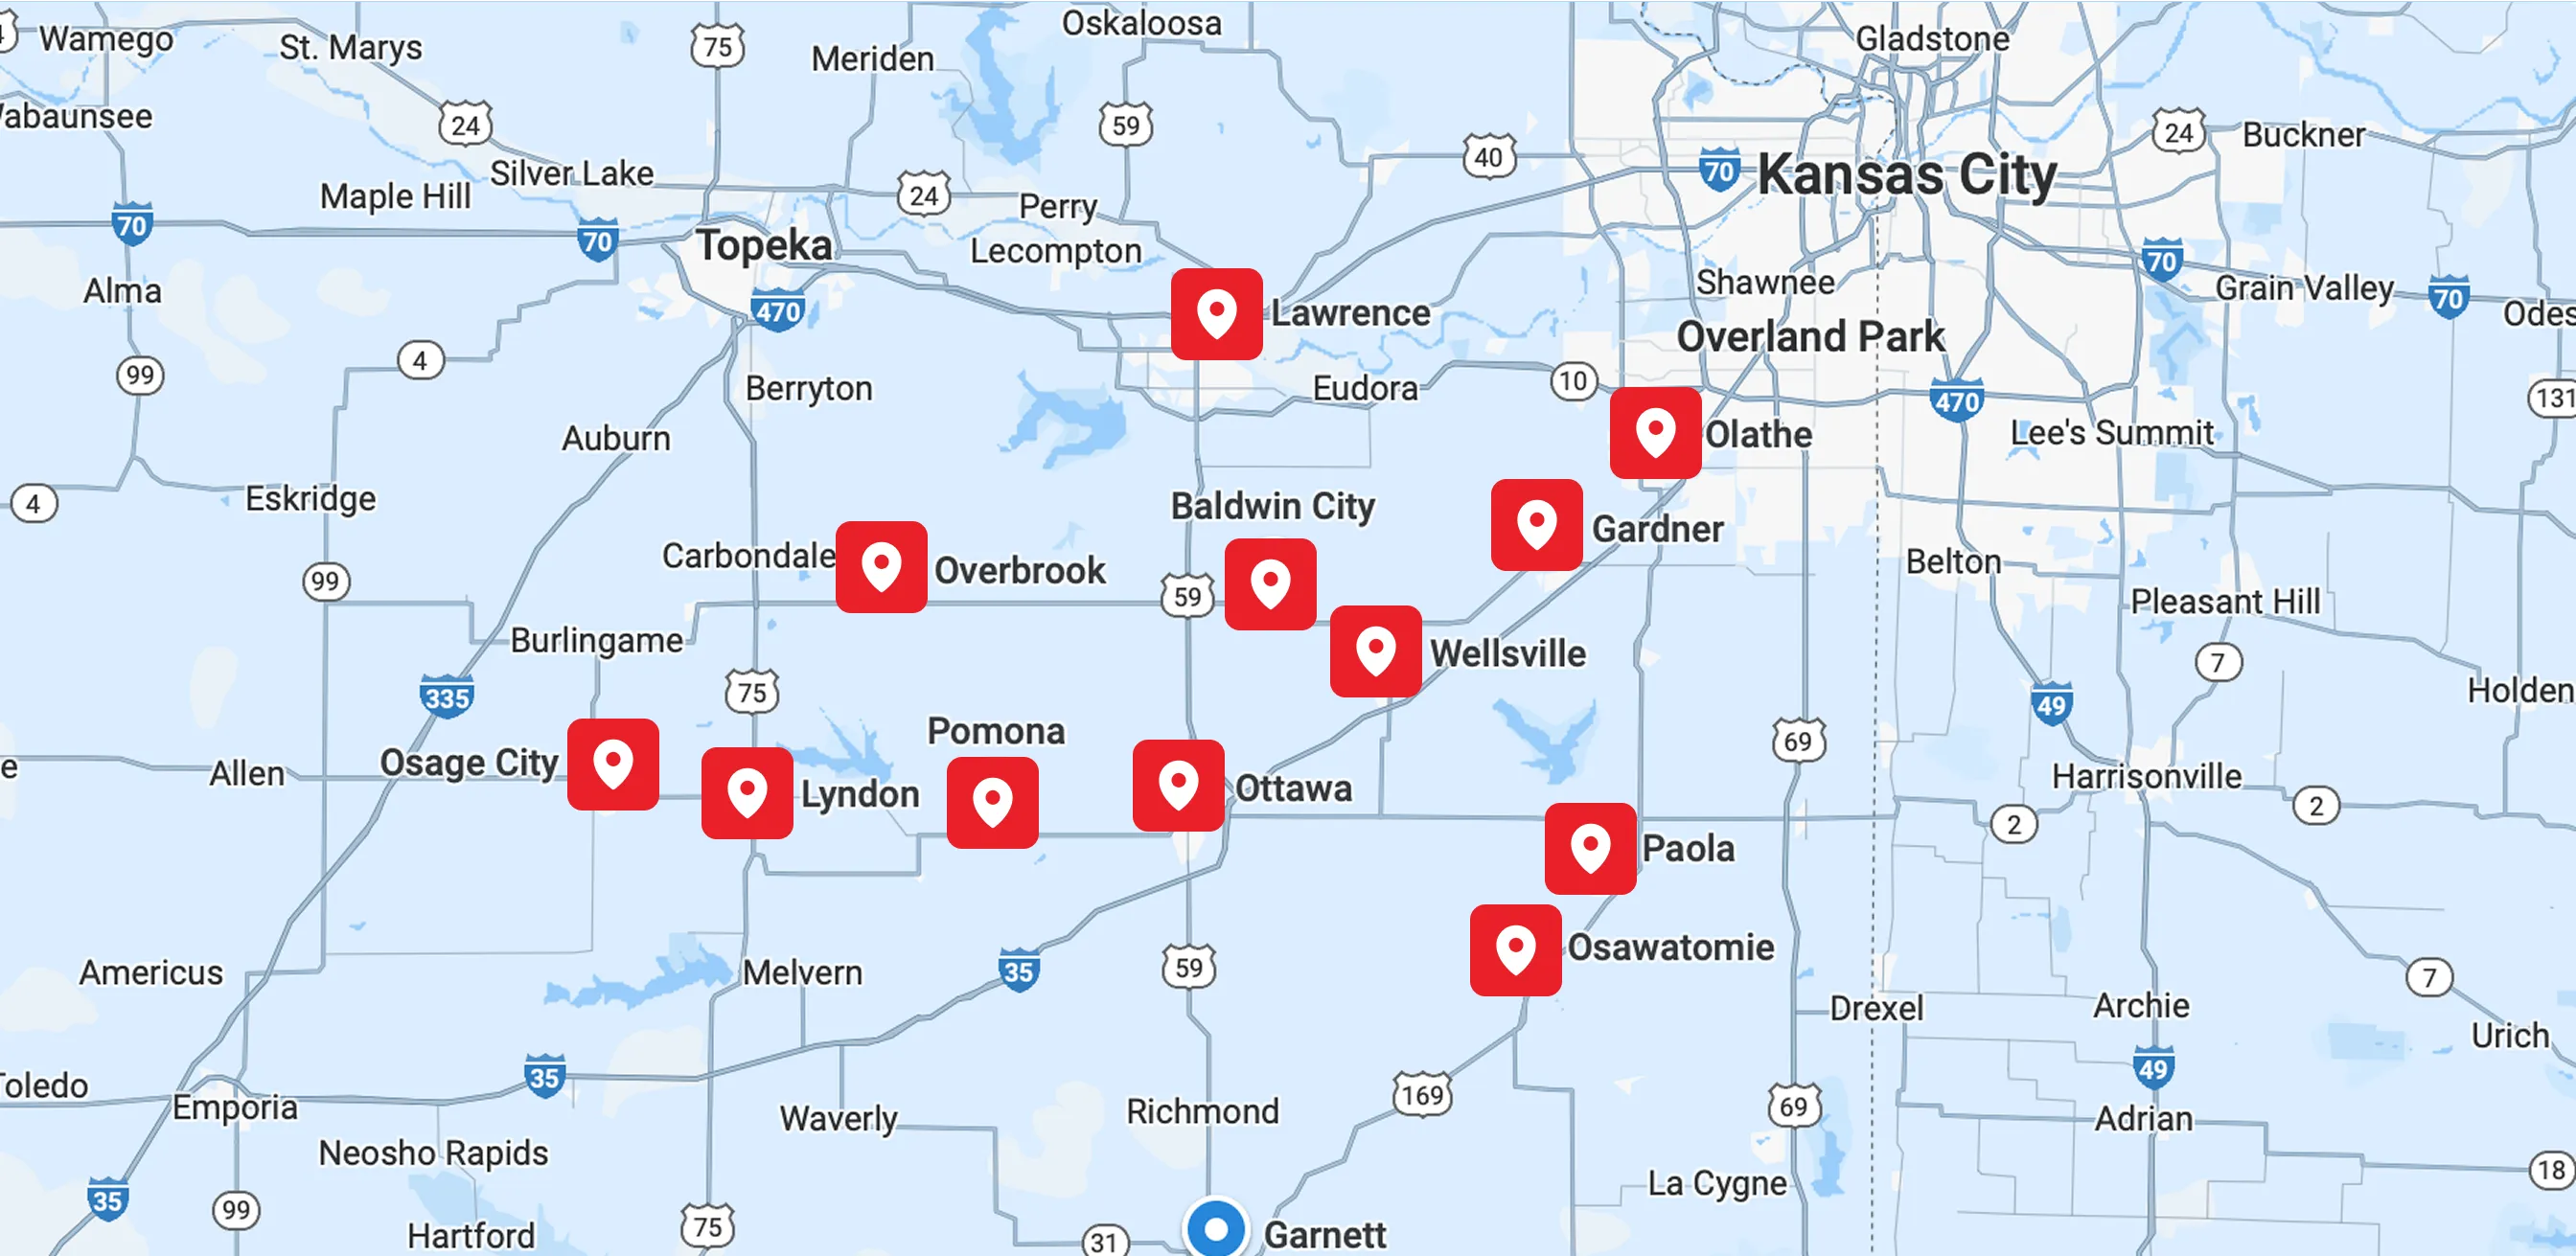
Service Areas