Mini-Split Installation in Garnett, KS
All Seasons Air Conditioning and Heating outlines a complete mini-split installation workflow for Garnett, KS, from initial site assessment through commissioning and warranties. We cover system types, zoning benefits, and the step-by-step process including load calculations, indoor/outdoor placement, refrigerant and electrical work, permits, and post-install performance testing. Our guide highlights technician qualifications, safety considerations, and typical warranties, while offering maintenance tips to sustain efficiency and comfort for homes without ductwork in Garnett’s climate. Clear steps help homeowners evaluate options, budgets, and expected performance.
.webp)
Mini-Split Installation in Garnett, KS
Installing a ductless mini-split in Garnett, KS is a smart upgrade when you need efficient heating and cooling for homes without ductwork, room additions, or problem rooms that never reach comfortable temperatures. Mini-splits deliver targeted comfort and strong energy savings compared with window units or oversized central systems. This page explains the full installation workflow you can expect in Garnett, KS — from the initial site assessment and load calculations through commissioning, safety checks, and warranties — so you can make an informed, confident decision for your home.
Why a mini-split makes sense in Garnett, KS
Garnett experiences hot, humid summers and chilly winters. A ductless heat pump mini-split can:
- Provide efficient cooling in summer and reliable heating in shoulder seasons and mild winter days.
- Help control humidity and improve indoor air quality compared with window units.
- Serve older or historic Garnett homes that lack existing ductwork without the invasive cost of installing ducts.
- Offer zoning to heat or cool only the rooms you use, reducing energy waste.
Common reasons Garnett homeowners choose mini-splits include added bedrooms, finished basements, sunrooms, converted garages, or homes with uneven temperature profiles.
Common mini-split types and installation scenarios
- Single-zone systems: one outdoor condensing unit connected to one indoor wall, floor, or cassette head. Ideal for a single room or addition.
- Multi-zone systems: one outdoor unit serving two to five indoor heads. Good for whole-house zoning without ducts.
- Heat pump models: provide both cooling and heating, optimal for Garnett climate where winters are often moderate.
- Cooling-only models: used for specific cooling needs where heating is not required.
Step 1 — Site assessment and pre-install inspection
A thorough site assessment is the foundation of a reliable mini-split installation. Technicians will:
- Walk the space to identify best indoor head locations for comfort, airflow, and aesthetics.
- Evaluate outdoor unit placement for airflow, noise, sun exposure, and clearance from landscaping.
- Check existing electrical service capacity, panel space, and whether a dedicated breaker and disconnect are needed.
- Inspect walls for line-set routing and assess indoor mounting options: high wall, floor, ceiling cassette, or slim ducted units.
- Note any structural, drainage, or moisture concerns that could affect mounting or condensate disposal.
This step ensures the installation plan matches the layout and constraints of Garnett homes, including common older-home factors like plaster walls or limited attic access.
Step 2 — Load calculations and unit sizing
Proper sizing is critical. Technicians perform load calculations (Manual J style) to determine the heating and cooling requirements based on:
- Square footage, insulation levels, window orientation, and occupancy.
- Local climate data for Garnett, KS to account for summer cooling load and winter heating demand.
- Specific room uses that alter loads, such as kitchens or sunrooms.
Correct sizing prevents short cycling, reduces energy waste, and delivers consistent comfort. Oversizing is a common problem that causes humidity and comfort issues; professional load calculations avoid that.
Step 3 — Recommended indoor and outdoor unit placement
Placement decisions combine comfort, performance, and serviceability.Indoor head placement guidelines:
- Mount high on interior walls for even air distribution or choose floor models where wall space is limited.
- Avoid direct placement where draft would blow directly on occupants or where furniture blocks airflow.
- Maintain short, straight line-set routes where possible to minimize refrigerant length and reduce potential pressure loss.
Outdoor unit placement guidelines:
- Locate on a firm, level pad with 12 to 24 inches clearance for airflow and service access.
- Avoid direct sun and heavy debris; install where snow drift or yard sprinklers will not impact the unit.
- Consider sound-sensitive neighbors and property lines in Garnett neighborhoods when choosing placement.
Technicians will propose placement options and explain trade-offs for efficiency, noise, and aesthetics.
Step 4 — Refrigerant line and electrical work
Mini-split installation requires certified refrigeration work plus safe electrical connections.
- Line-set installation: refrigerant lines are brazed and insulated, typically run through a small hole with a protective sleeve and finished with a neat exterior cover.
- Evacuation and charging: technicians vacuum the system to remove moisture, then charge to manufacturer specifications using pressures or superheat/subcooling methods.
- Electrical: install dedicated circuits, disconnects, and proper grounding. Verify breaker sizing and wire gauge meet code and manufacturer requirements.
- Condensate management: provide proper drain routing or use a condensate pump where gravity drain is not possible.
All refrigerant handling must be done by EPA-certified technicians and in accordance with manufacturer instructions to protect performance and warranties.
Step 5 — Permits, safety, and code compliance
Local permit requirements vary, but most installations require a mechanical or electrical permit and inspection. Technicians will:
- Pull or advise on necessary permits to comply with Anderson County and Garnett municipal codes.
- Follow National Electrical Code (NEC) and local amendments for safe wiring and disconnects.
- Adhere to manufacturer clearances, mounting requirements, and refrigerant handling regulations.
- Ensure installations meet structural and fire-safety rules, especially for wall penetrations and outdoor pad mounting.
Proper permitting and code compliance protect safety, resale value, and future insurance considerations.
Step 6 — Post-installation commissioning and performance testing
A professional install does not end with physical placement. Commissioning ensures the system operates as intended:
- Verify correct refrigerant charge and pressures using superheat or subcooling methods.
- Measure supply and return temperatures and airflow to confirm airflow rates and balance.
- Test electrical loads and confirm circuit protection and disconnect operation.
- Program controls, set modes, and demonstrate system operation and basic maintenance points.
- Provide a written checklist of settings, measured performance numbers, and installed equipment model/serial details for your records.
Commissioning confirms efficiency and anticipates service needs, giving predictable comfort for Garnett’s seasonal extremes.
Technician qualifications and warranties
Look for technicians who are:
- EPA 608 certified to handle refrigerants.
- Trained in ductless system installation and manufacturer-specific startup procedures.
- Familiar with local permitting and code requirements in Garnett and Anderson County.
Quality installations include manufacturer and labor warranties. A typical setup should offer:
- Manufacturer warranty on compressors and major components.
- A labor warranty for installation workmanship covering a defined period.
Confirm warranty terms and required maintenance to preserve coverage.
Benefits and maintenance advice
Benefits for Garnett homeowners include:
- Zoned comfort and improved efficiency for mixed-use homes.
- Lower operating costs compared with window units or inefficient furnaces in mid-season.
- Minimal invasive installation with small wall penetrations instead of ductwork.
Maintenance tips to keep performance high:
- Replace or clean filters regularly.
- Keep outdoor unit clear of debris, vegetation, and heavy snow.
- Schedule annual or biannual tune ups to check refrigerant charge, electrical connections, and airflow.
A well-planned mini-split installation in Garnett, KS will deliver dependable comfort, efficient performance, and quiet operation when designed, installed, and commissioned according to local conditions and manufacturer standards.
Customer Testimonials
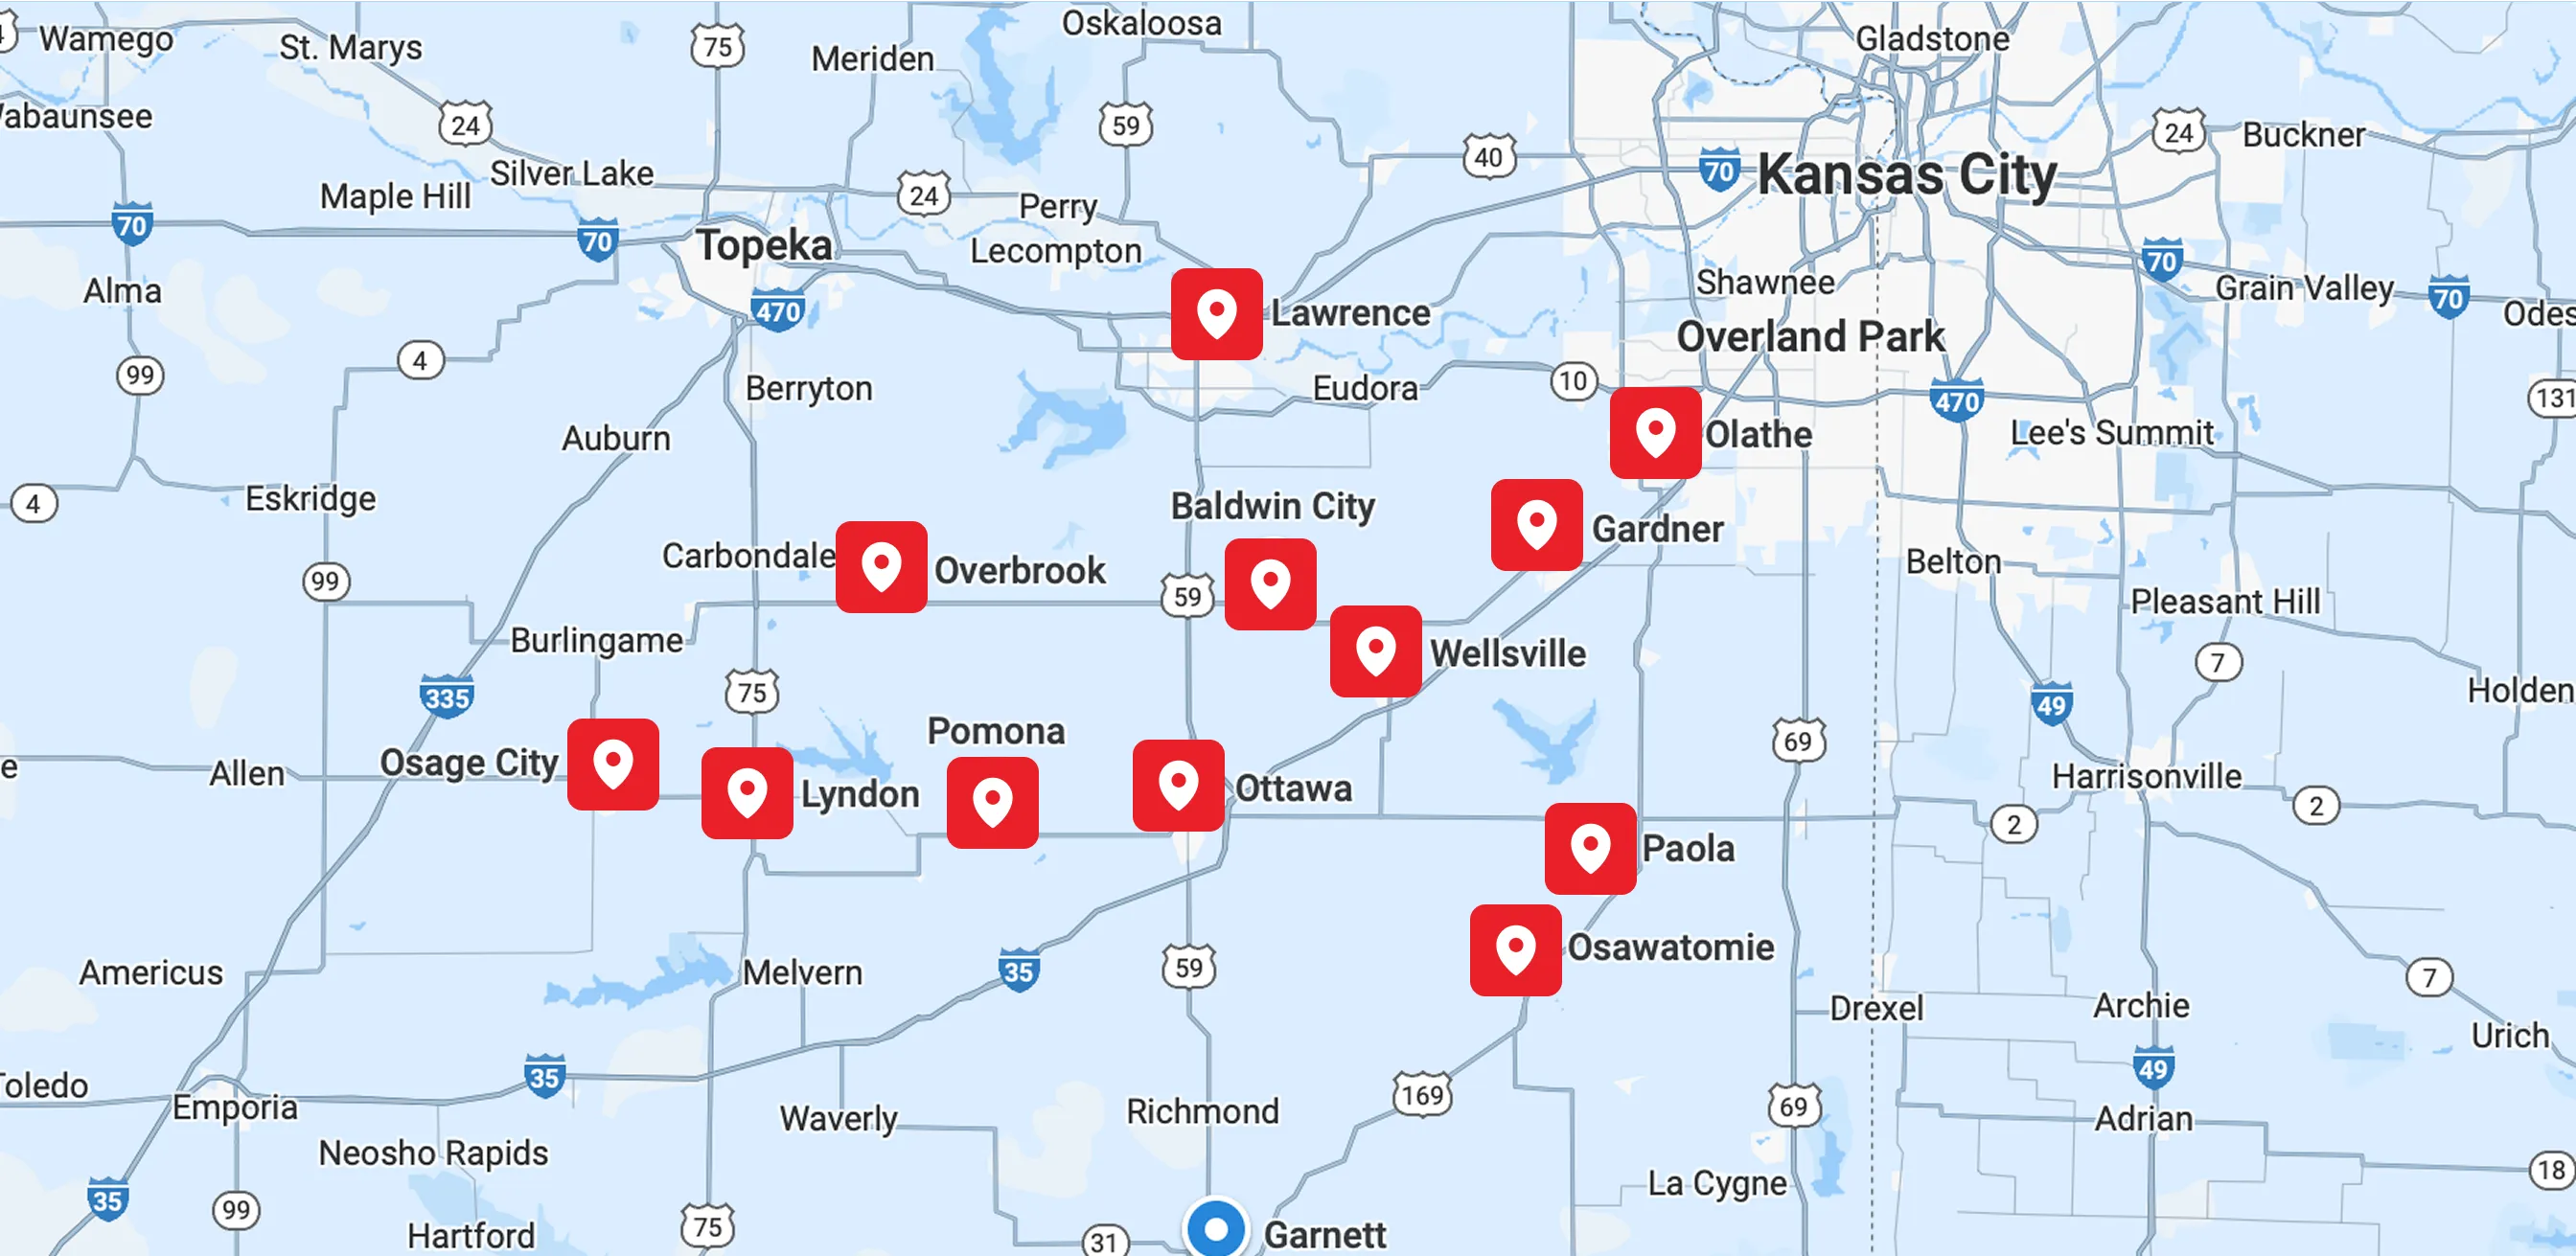
Service Areas