Mini-Split Installation in Princeton, KS
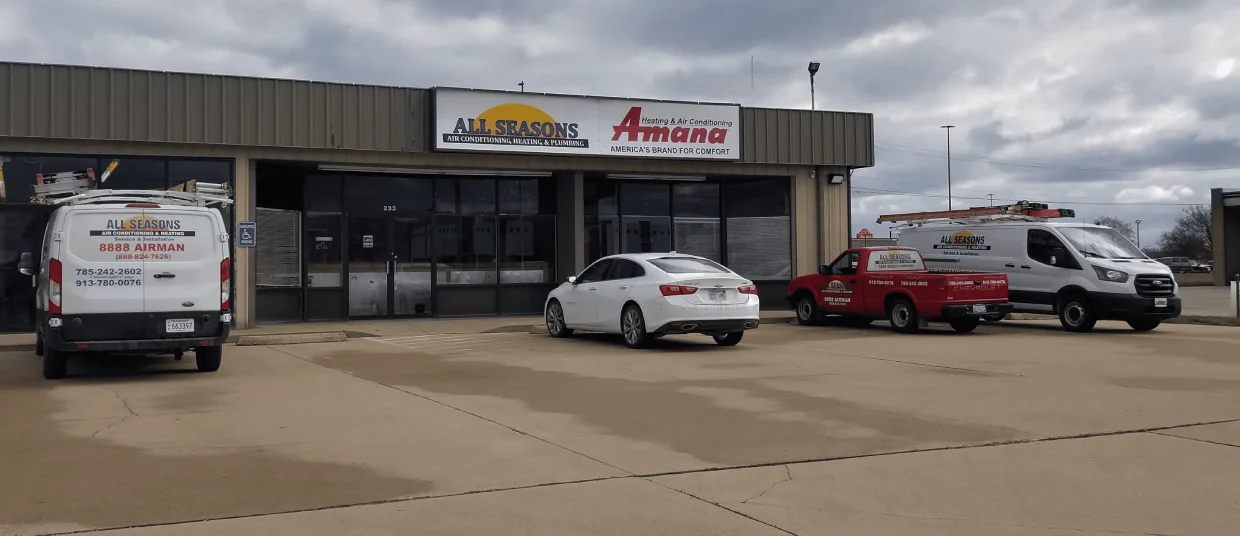
Mini-Split installation in Princeton, KS, from All Seasons Air Conditioning and Heating delivers targeted comfort with excellent ductless heating and climate control options, all guided by a professional site survey and precise load calculations. Our process covers expert system sizing, optimal indoor and outdoor unit placement, meticulous electrical and refrigerant work, handling permits, and thorough commissioning. Expect clear timelines, helpful preparation tips, and post-installation care guidance to maximize efficiency. This service emphasizes energy savings, flexible zoning for historic or add-on spaces, and reliable performance through our careful installation and thorough testing, greatly reducing energy waste and downtime for your home.
.webp)
Mini-Split Installation in Princeton, KS
When you need reliable, efficient heating and cooling for a Princeton, KS home—especially older houses, additions, or spaces without ductwork—a professional mini‑split installation in Princeton, KS delivers targeted comfort and energy savings. This page walks through the full installation process so you know what to expect: how we determine the right system, placement considerations, electrical and refrigerant work, permitting and code items, commissioning, realistic timelines, and how to prepare and care for your new system.
Why choose a mini‑split for Princeton, KS homes
- Precision zoning for rooms that get too hot in the summer or too cold in the winter.
- Heat pump operation provides efficient heating during Princeton’s cold months and powerful cooling during hot, humid summers.
- Ideal for homes without ducts, finished basements, garages converted to living space, sunrooms, or historic homes where installing ductwork is impractical.
- Improved indoor air quality and reduced energy waste by only conditioning occupied spaces.
Common mini‑split installation needs in Princeton, KS
- Converting additions or finished attics into comfortable living spaces.
- Replacing window units or inefficient electric baseboard heat.
- Adding supplemental heat to chilly bedrooms and common areas.
- Replacing or supplementing aging central systems to reduce energy bills and improve comfort.
Single‑zone vs. multi‑zone: choosing the right system
- Single‑zone systems serve one indoor unit from one outdoor compressor—best for isolated rooms, small additions, or a single problematic space.
- Multi‑zone systems run multiple indoor units from one outdoor unit—best for whole-house retrofits, multiple bedrooms, or several rooms requiring independent control.
- Selection depends on load calculations, line length constraints, and budget considerations. In Princeton, multi‑zone setups are popular for historic or multi-level homes where ductwork is absent.
Site survey and load calculations
A professional site survey is the first step. Technicians will:
- Measure room dimensions, window sizes, orientation, insulation levels, and occupancy patterns.
- Assess local climate impact—Princeton’s hot, humid summers and cold winters influence cooling and heating loads, plus humidity control needs.
- Perform a load calculation (Manual J principles explained plainly) to size indoor/outdoor equipment correctly. Oversized or undersized systems cause short cycling, poor humidity control, and higher energy use.
Indoor and outdoor unit placement
Correct placement ensures efficiency and comfort:
- Indoor units are typically mounted high on an interior wall for even airflow. Placement avoids direct sunlight and ensures unobstructed circulation.
- Outdoor units need solid, level pads with clear airflow—avoid tight enclosures and allow access for service.
- Consider noise, sightlines, and security; Princeton neighborhoods may have local aesthetic considerations.
- Line set length between indoor and outdoor units affects efficiency—shorter runs are generally better.
Electrical and refrigerant linework
Professional installation includes:
- Electrical: Dedicated circuit sized to the manufacturer’s specifications, proper breaker and disconnect, and safe routing to the outdoor unit.
- Refrigerant lines: Copper line sets insulated properly and run with appropriate slope and protection through walls. Technicians will braze or connect fittings following EPA and manufacturer procedures.
- Drainage: Condensate lines or internal pumps installed to route moisture to an approved drain without backflow or leaks.
- Safety and compliance with local electrical codes are observed throughout.
Permit and code considerations in Princeton area
- Most mini‑split installations require local permits and an inspection to ensure electrical and mechanical safety and compliance with code.
- Municipal or county rules may dictate setback, equipment location, and electrical paperwork. Your installer will coordinate permits and inspections with local authorities so the system is compliant and safe.
Installation process and typical timeline
- Day 1: Site survey and final system selection (if not already completed). Preparations such as routing paths and panel checks.
- Day 2 (most common): Indoor and outdoor units mounted, line sets and condensate routed, electrical run to the outdoor compressor.
- Day 3: Evacuation of the refrigerant lines, pressure and leak testing, charging if needed, configuration of thermostats/controls, and final cleanup.
- Total timeline typically ranges from a single day for a single‑zone swap to 2–3 days for multi‑zone or complex retrofits. Weather, structural challenges, or permit timing can extend this.
Post‑installation testing and commissioning
Commissioning includes:
- Leak and pressure tests for refrigerant integrity.
- Evacuation with a vacuum pump and manufacturer-specified charging to ensure correct refrigerant charge.
- Electrical verification, startup sequences, and safety checks.
- Airflow measurements and temperature splits to confirm performance.
- Wi‑Fi and remote control setup if supported, and homeowner orientation on settings and modes.
Homeowner preparation before installation
- Clear access to the installation areas and the electrical panel.
- Remove wall hangings or furniture near indoor unit locations.
- Ensure pets and children are secured during the work window.
- Identify preferred routes for lines and discuss aesthetic preferences with your installer ahead of time.
- Have any existing window units or obsolete equipment removed prior to day one if possible.
Care and maintenance tips for longevity
- Clean or replace filters regularly—most filters are washable or easily replaced every few months depending on usage.
- Keep outdoor units clear of debris, tall grasses, and snow; maintain a 2–3 foot clearance around the unit for airflow.
- Schedule annual professional maintenance for refrigerant checks, electrical safety, and efficiency tuning—this preserves manufacturer warranties and peak performance.
- Watch for warning signs: decreased cooling, unusual noises, ice buildup on indoor coils, or error codes on the controller.
Common issues and how installers prevent them
- Insufficient cooling: often due to improper sizing—prevented by accurate load calculations.
- Noise: minimized by proper outdoor unit mounting and selecting quieter models.
- Freeze up or poor humidity control: addressed with correct airflow and proper refrigerant charge.
- Leaks and improper drains: avoided through correct condensate routing and secure fittings.
A correctly designed and installed mini‑split system provides precise comfort, efficient heating and cooling, and tailored zoning—particularly valuable in Princeton, KS where seasonal extremes and varied home styles make flexible solutions essential. With a professional site survey, proper permitting, and careful commissioning, your mini‑split will deliver reliable performance and year‑round comfort.
Customer Testimonials
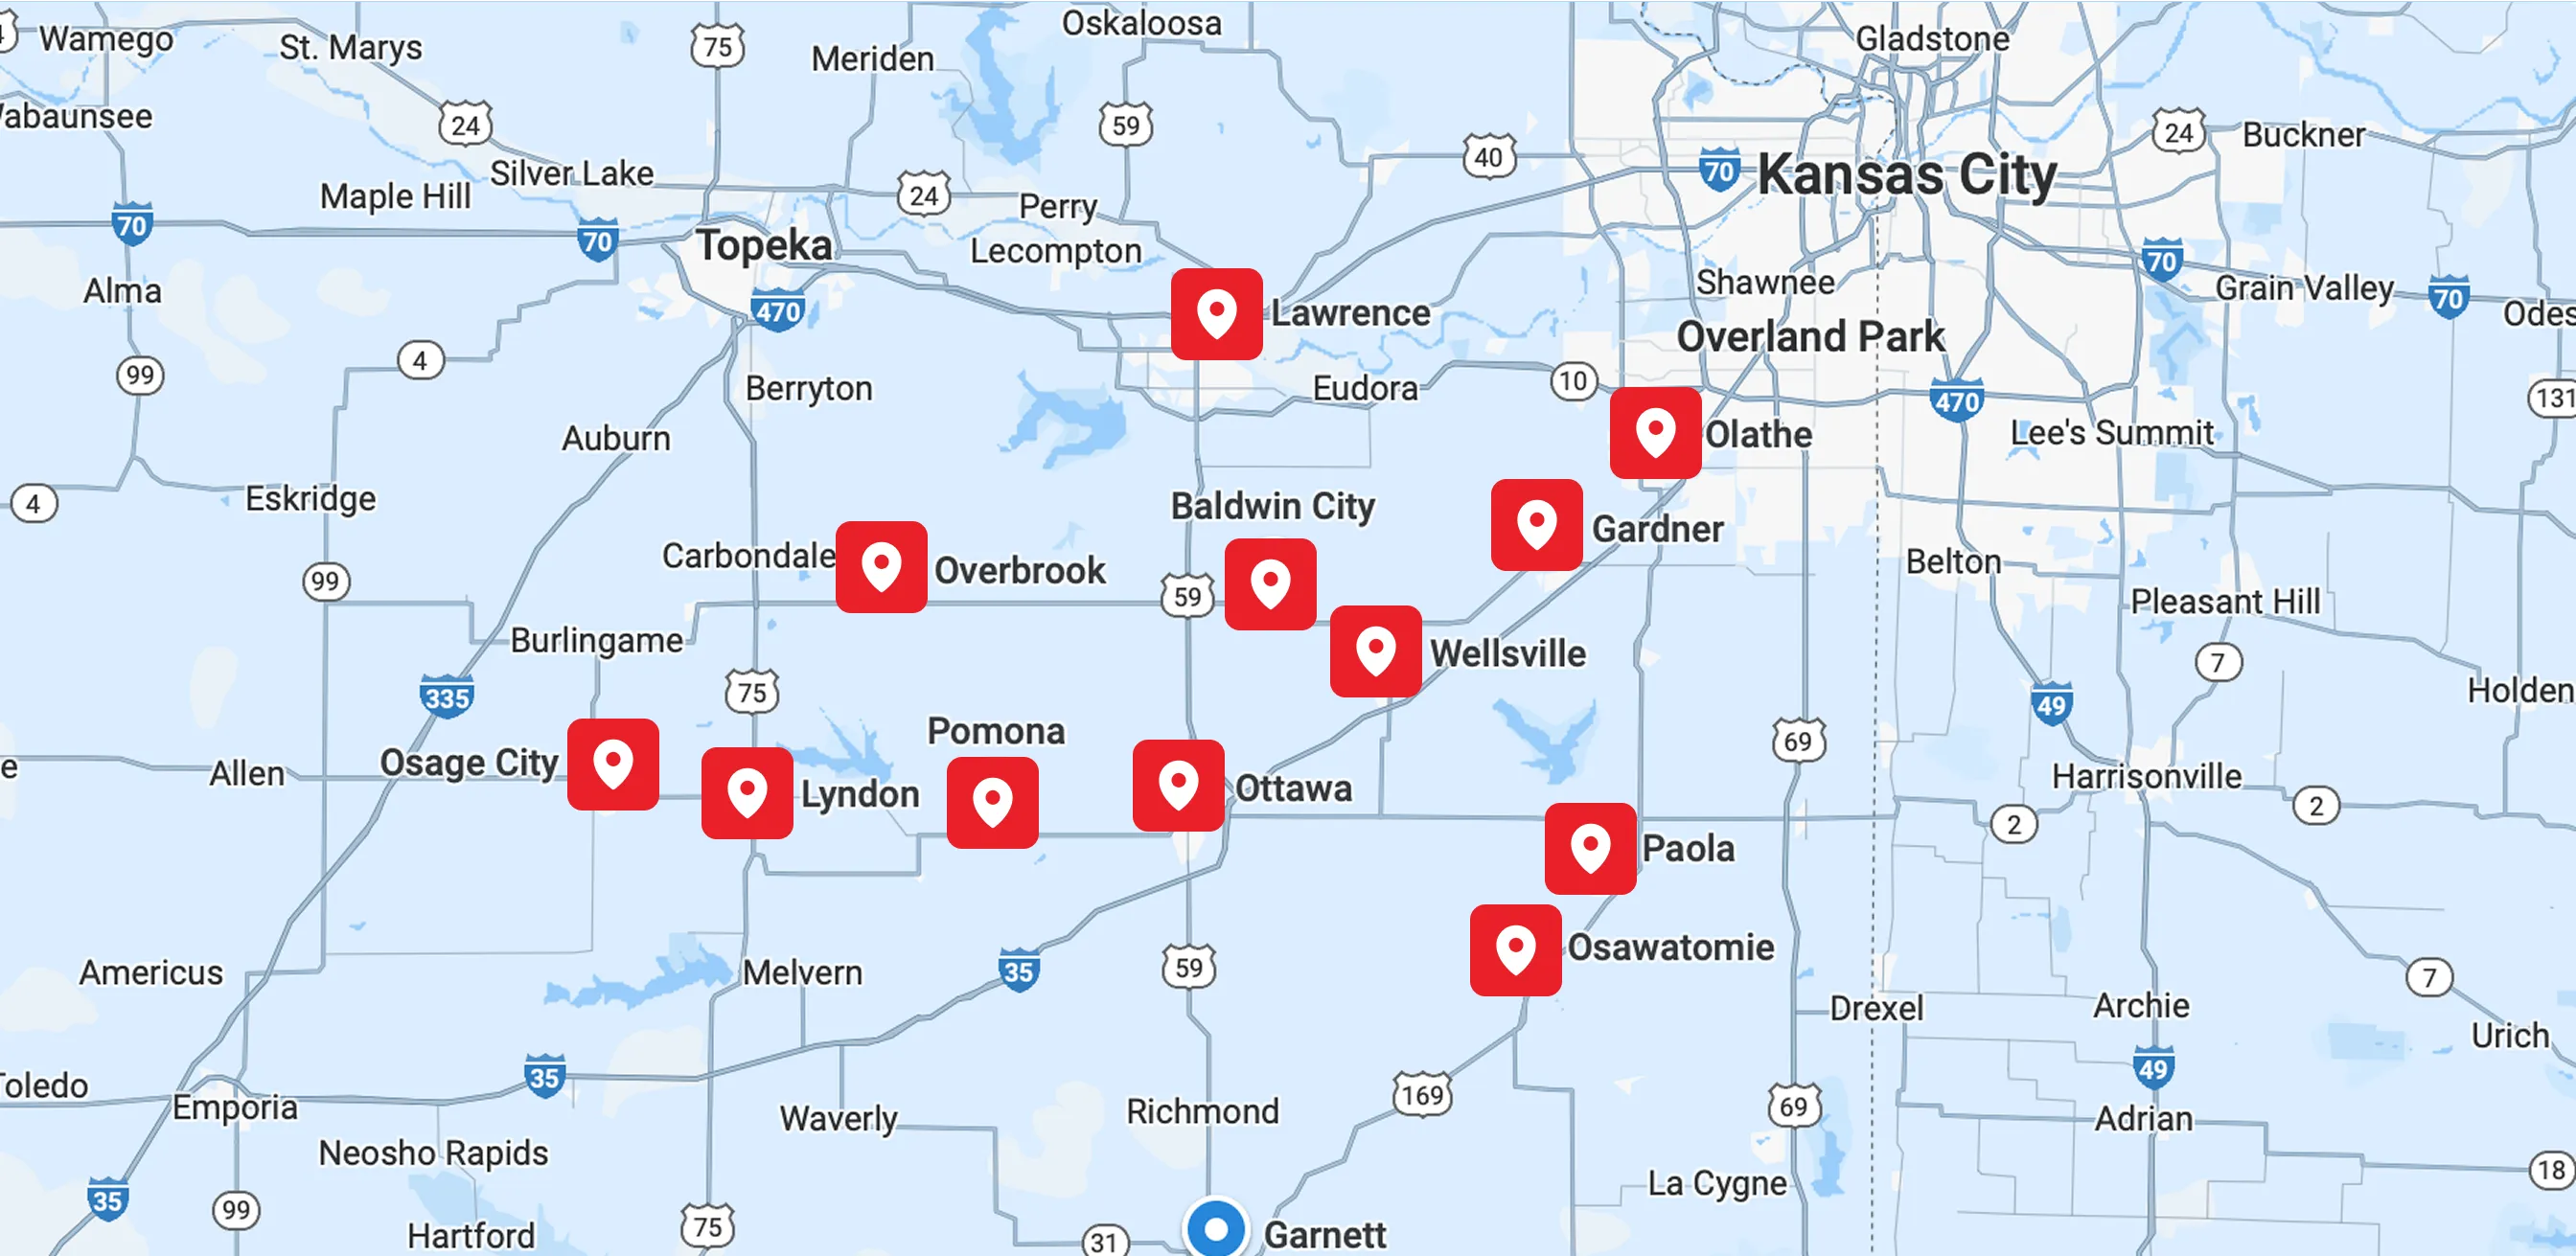
Service Areas